Imagine you have one shot to impress a client in the room. The slides are ready. The team is prepared. But the projector won’t connect, the audio is crackling, and the room feels messy. That first impression is already damaged — before you’ve said a word.
The right meeting room setup for client presentations fixes all of that. It removes the friction. It puts the focus back on your message and your people — where it belongs.
This guide walks you through every element of a professional, reliable conference room setup for presentations. Follow these steps, and you’ll walk into every client meeting with confidence.
Why Your Meeting Room Setup Affects Every Client Decision
A client does not just judge your pitch. They judge everything around it. The room, the technology, the comfort, the professionalism of the environment — all of it shapes how much they trust you.
Research consistently shows that first impressions form within seconds. A well-prepared client presentation room setup signals that you are organized, credible, and serious about the relationship.
On the other hand, a room that feels improvised tells the client something, too. It tells them this is how you operate under pressure.
Keep in mind: the room does not need to be expensive. It needs to be intentional. Every element should have a purpose.
Also Read: How to Host Effective Business Meetings for Success and Productivity
How to Set Up a Meeting Room for Client Presentations: Step by Step
Let’s go through each element of the best meeting room setup, in the order you should tackle them.
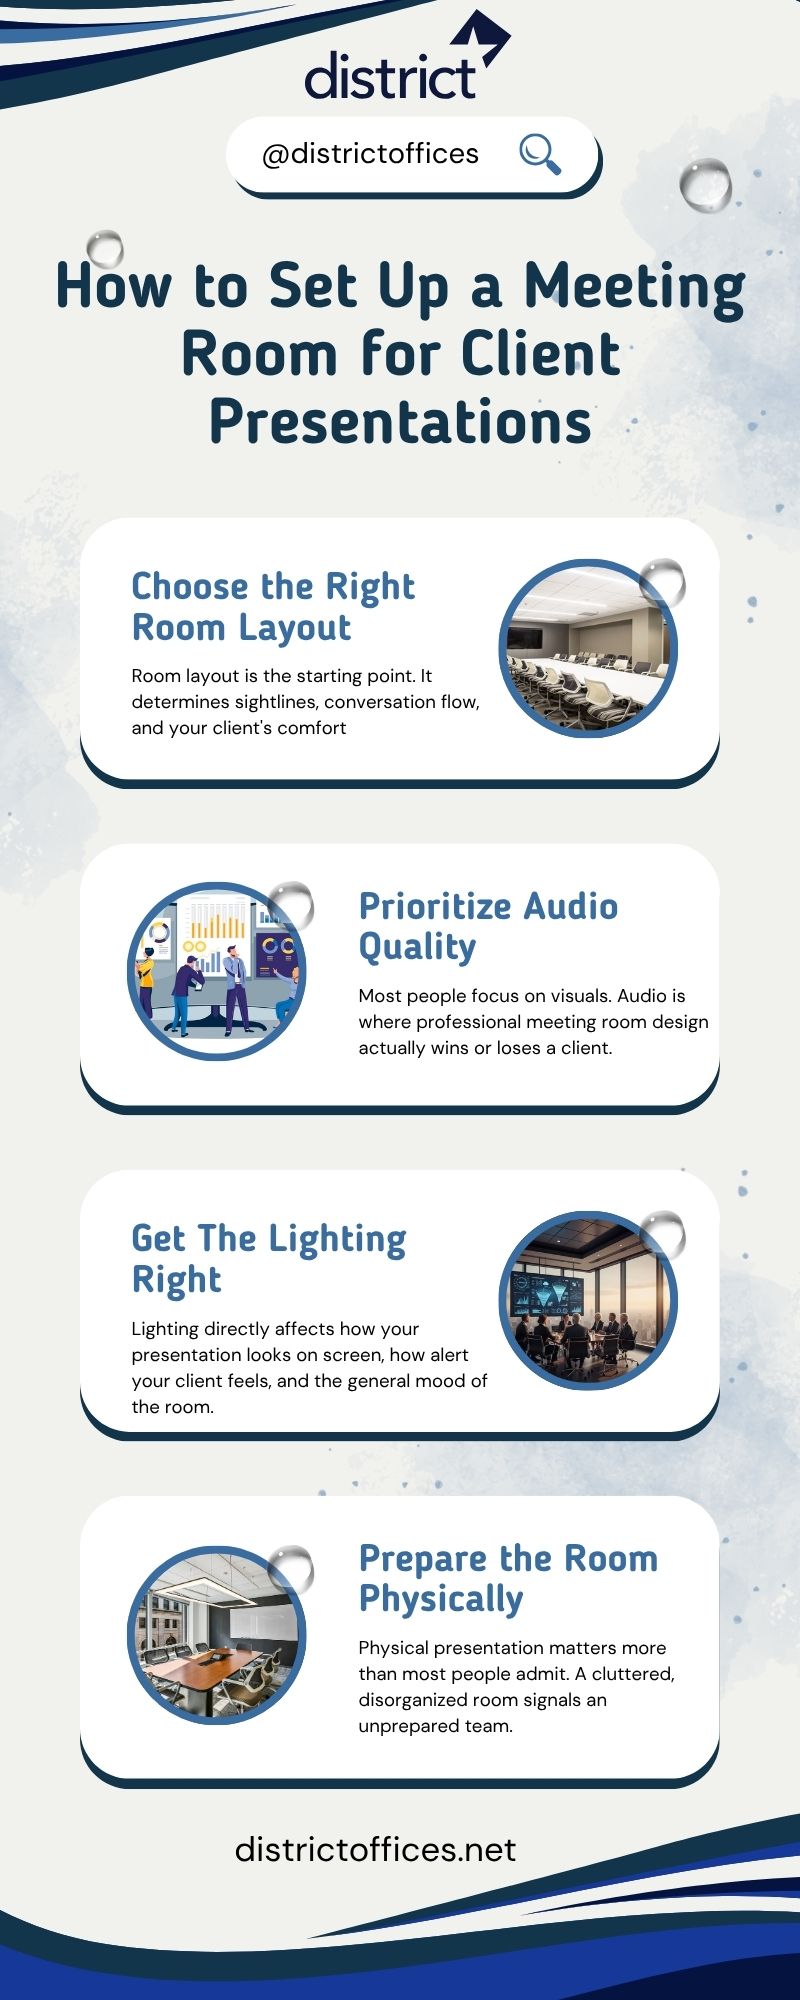
Step 1: Choose the Right Room Layout
Room layout is the starting point. It determines sightlines, conversation flow, and your client’s comfort. For most client presentations, the best layout is a U-shape or boardroom style. Here’s why:
- U-shape layout: Great for presentations with discussion. Everyone faces the screen while being able to see each other.
- Boardroom layout: Best for formal meetings with a smaller group. Clean, professional, and familiar to clients.
- Classroom layout: Use only if you’re presenting to a large group without much interaction expected.
Make sure every seat has a clear sightline to the display screen. No one should have to crane their neck or sit at an awkward angle.
Step 2: Set Up Your Display Screen and Presentation Technology
The display screen is the centerpiece of any client presentation room setup. It must be large enough, clear enough, and reliable enough. Here are the minimum standards for a professional setup:
- A screen or monitor of at least 65 inches for a room that seats 6 to 8 people
- 4K resolution or full HD at minimum — blurry visuals undermine credibility
- A wireless presentation system so anyone can share their screen without hunting for cables
- HDMI backup port for guests using their own devices
Don’t worry about having the most expensive setup. Reliability matters more than premium specs. A client will forgive a standard screen. They will not forgive one who stops working mid-presentation.
Step 3: Prioritize Audio Quality
Most people focus on visuals. Audio is where professional meeting room design actually wins or loses a client. Poor audio is the fastest way to lose a room’s attention. If your client can’t hear clearly — or if every word echoes — they disconnect. And once attention is lost, it rarely comes back.
For a professional conference room setup for presentations, you need:
- A quality speaker system that distributes sound evenly throughout the room
- A conference microphone if remote participants will join the call
- Acoustic panels or soft furnishings to reduce echo in hard-walled rooms
In simple terms, spend more on audio than you think you need to. It is the element clients notice most — but only when it fails.
Step 4: Get The Lighting Right
Lighting directly affects how your presentation looks on screen, how alert your client feels, and the general mood of the room.
Follow these guidelines for a professional meeting room layout for presentations:
- Use warm, neutral lighting — not harsh overhead fluorescents
- Avoid placing windows directly behind the screen. Glare will wash out your slides
- Use dimmable lights so you can reduce brightness when sharing a presentation
- Make sure faces are well-lit for any virtual participants.
Natural light is ideal — but controllable natural light is even better. Blinds or shades that you can adjust quickly are worth the investment.
Step 5: Prepare the Room Physically
Physical presentation matters more than most people admit. A cluttered, disorganized room signals an unprepared team.
Before every client meeting, run through this checklist:
- Clear all unnecessary items from the table — cables, papers, old coffee cups
- Place notepads, pens, and water on the table before the client arrives
- Test all technology 15 minutes before the meeting, not 2 minutes before
- Set the room temperature in advance — a room that is too hot or too cold kills focus
- Position chairs so every seat faces the screen at a comfortable angle
Assign someone to be in the room 20 minutes before the meeting. Their only job is to make sure everything is ready. This small habit prevents almost every setup problem.
Meeting Room Setup Checklist: Quick-Reference Table
Use this table to check your setup before every client presentation. Print it out or save it as a room checklist.
| Element | What to Check | Priority Level |
| Display Screen | 65″+ screen, HD/4K resolution, no glare from windows | Critical |
| Wireless Presentation | Wireless sharing system + HDMI backup port working | Critical |
| Audio System | Speaker volume balanced, microphone tested for remote participants | Critical |
| Lighting | Dimmable, no glare on screen, faces well-lit for video | High |
| Room Layout | U-shape or boardroom, all seats face the screen | High |
| Physical Tidiness | Table cleared, notepads and water set out, no clutter | High |
| Temperature | Room pre-cooled or warmed 30 min before meeting | Medium |
| Tech Test | All devices connected, presentation loaded, video call tested | Critical |
| Signage / Wayfinding | Client knows how to find the room — directions sent in advance | Medium |
| Internet Connection | Wired connection for presenter; strong Wi-Fi verified for guests | High |
Common Meeting Room Setup Mistakes That Cost You, Clients
Now, let’s look at what goes wrong most often. Knowing these mistakes in advance means you can avoid them entirely.
Mistake 1: Relying on one connection point. If you only have HDMI and your guest uses USB-C, the presentation stalls. Always have multiple adapters ready.
Mistake 2: Skipping the audio test. Most presentation failures come from audio, not visuals. Test your speakers and microphone every time — not just once when they were installed.
Mistake 3: Overpacking the room. More chairs and more people do not equal a better impression. A tight, crowded room creates discomfort. Right-size the room for the meeting.
Mistake 4: Ignoring the view from the client’s seat. Sit in the client’s chair before the meeting. Check the sightline, the lighting, and the screen clarity from their position.
Need a Fully Equipped Meeting Room — Without the Setup Headache?
However, if managing all of these steps feels complex or time-consuming, the District Offices’ meeting room space offers a simpler, faster solution.
Every meeting room at District Offices is fully configured for professional client presentations. You get:
- High-definition display screens and wireless presentation technology are already installed
- Professional-grade audio systems tested and ready to use
- Clean, professionally designed rooms with the right layout for client meetings
- High-speed wired and wireless internet included
- On-site support so you can focus on the meeting, not the technology
You book the room. Everything else is handled. Walk in, present, and leave a great impression.
Your Meeting Room Is Your First Pitch — Get It Right!
The best meeting room setup for client presentations is not about having the most expensive equipment. It is about being intentional. Every element — the layout, the display, the audio, the lighting, the physical tidiness — sends a message to your client before you speak a single word.
In 2026, clients expect professionalism from the moment they walk through the door. A well-prepared professional meeting room design removes every distraction and lets your work speak for itself. That is the competitive advantage most teams overlook.
If you want all of that without spending weeks sourcing equipment, configuring technology, and managing logistics, the District Offices’ meeting workspace provider solution has it ready for you. Book the room. Bring your best pitch. Let the environment do the rest.
Frequently Asked Questions:
A: The best meeting room setup for client presentations includes a large HD display screen (65 inches or larger), a wireless presentation system, professional-grade audio, dimmable lighting, and a U-shape or boardroom table layout. Every seat should have a clear sightline to the screen. The room should be tidy, temperature-controlled, and fully tested at least 15 minutes before the client arrives. Reliability and professionalism matter more than expensive equipment.
A: For a client presentation, a U-shape layout or boardroom-style arrangement works best. In a U-shaped setup, all attendees face the display screen while maintaining eye contact with one another. A boardroom setup is ideal for smaller, more formal groups. Avoid classroom-style rows unless you are presenting to a large group with minimal interaction. Place the display screen at one end of the room so every seat has a direct, unobstructed view.
A: A professional client presentation room needs five core elements: a large HD or 4K display screen, a wireless presentation system with an HDMI backup, a quality speaker setup with even sound distribution, a conference microphone for remote participants, and reliable high-speed internet. Optional additions include dimmable smart lighting, acoustic panels to reduce echo, and a room booking system to prevent scheduling conflicts. Reliability is more important than feature count.
A: For a meeting room seating 6 to 8 people, a minimum screen size of 65 inches is recommended. For larger rooms with 10 to 20 participants, a screen of 85 inches or more is appropriate. As a general rule, add 10 inches of screen size for every additional two rows of seating. HD resolution (1080p) is the minimum standard. 4K is preferable for presentations with detailed visuals, data, or fine text.
A: Audio quality is one of the most critical factors in a professional meeting room setup. Poor audio causes clients to disengage, miss key points, and perceive the presenting team as unprepared. Quality speakers that distribute sound evenly throughout the room and conference microphones for remote call participants are essential. Acoustic panels or soft furnishings help reduce echo in rooms with hard walls. Clients forgive imperfect visuals more readily than they forgive audio problems.
A: A wireless presentation system is a device that allows anyone in the room to share their screen on the main display without using cables or adapters. Users simply connect to a secure wireless network and stream their content directly to the room’s screen. Popular examples include Barco ClickShare, Mersive Solstice, and built-in wireless sharing via Microsoft Teams or Zoom. For client meetings, wireless presentation is strongly recommended. It eliminates cable-hunting delays and allows smooth transitions between multiple presenters.
A: The best lighting for a client presentation room is warm, neutral, and dimmable. Avoid harsh overhead fluorescent lighting, which creates a clinical atmosphere and causes glare on screens. Position the light sources so that all video call participants’ faces are well-lit. If the room has windows, install blinds or shades that you can adjust quickly to prevent sunlight from washing out the display screen. Pre-set your lighting levels before the client arrives rather than adjusting them mid-meeting.
A: The most common mistakes in meeting room setup for client presentations are: failing to test technology before the meeting (not after the client arrives), having only one type of cable connection with no adapters as backup, overcrowding the room with too many chairs, poor audio that makes it hard to follow the conversation, glare from windows washing out the presentation screen, and cluttered tables that look unprepared. Most of these are avoidable with a simple pre-meeting checklist and a 15-minute setup review.
A: Yes. Many flexible workspace providers and coworking spaces offer fully equipped meeting rooms for hourly or daily hire. These rooms come pre-configured with professional display screens, audio systems, wireless presentation technology, and high-speed internet. You book the room and walk in ready to present. This option is ideal for businesses that do not have their own meeting space, need to meet clients near their location, or want a more professional environment than their current office provides.
A: To make a client presentation room look more professional: clear all clutter from the table before the meeting, set out branded notepads or stationery, ensure the room temperature is comfortable on arrival, use quality chairs with adequate spacing, and display your company branding on the screen wallpaper or welcome slide. Keep the room simple. Clients respond to organized, calm spaces — not too busy, overly decorated rooms. A clean, intentional environment projects confidence and attention to detail.